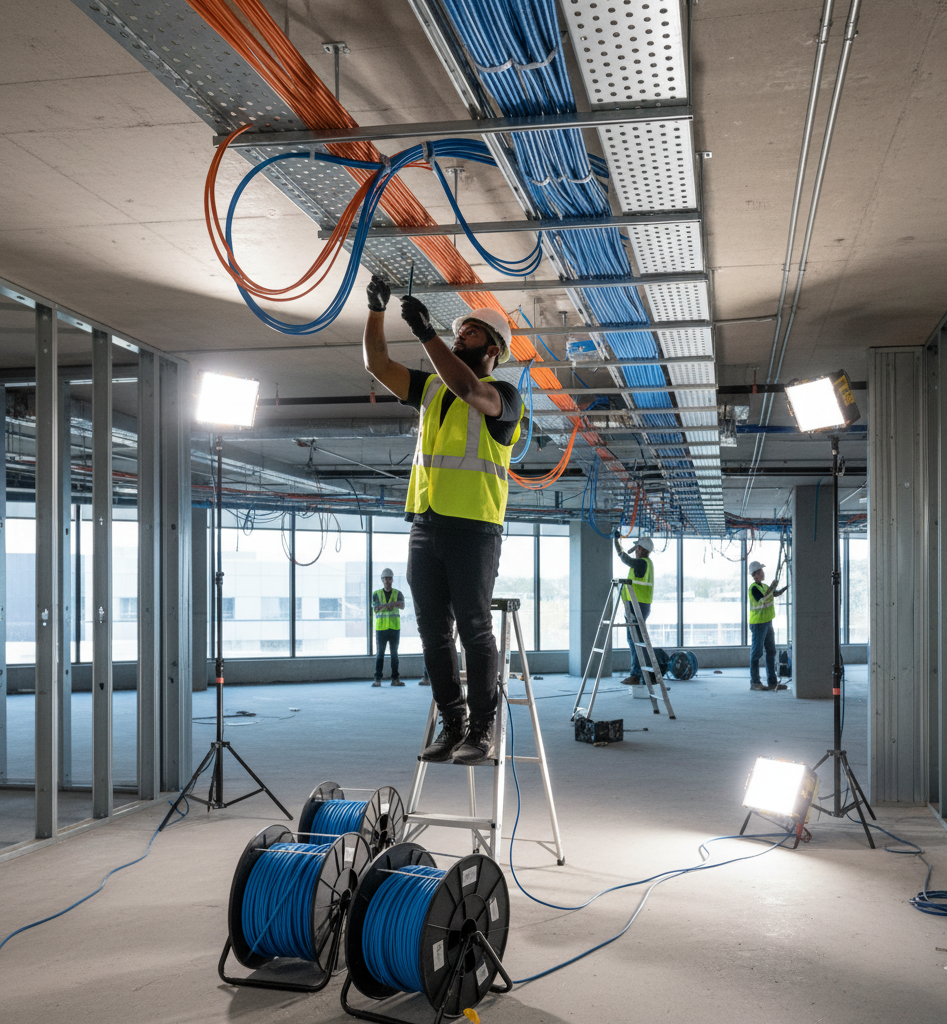
Moving into a new office is a chance to build your technology foundation the right way. A well-planned low-voltage cable installation is invisible, reliable, and empowers your business to operate smoothly for years to come. A poorly planned one leads to constant headaches, ugly cable runs, and frustrating network problems.
This guide will walk you through the key steps to plan your installation like a pro, ensuring a clean, efficient, and scalable setup.
Step 1: Conduct a Thorough Needs Audit
Before you think about cables, think about connectivity. Walk through your planned office layout and make a list of every device that will need a connection. This includes:
- Computers and Phones: Each desk will likely need at least two Ethernet ports.
- Wireless Access Points (WAPs): Plan for ceiling or wall-mounted WAPs to ensure full Wi-Fi coverage without dead zones.
- Security Cameras: Note the locations for indoor and outdoor CCTV cameras.
- Printers and Peripherals: Any network-shared devices.
- Conference Room Tech: TVs, projectors, video conferencing systems, and audio equipment.
Pro Tip: Always add 20-30% more drops (ports) than you think you need for future expansion.
Step 2: Create a Detailed Floor Plan Map
Grab a copy of your office’s blueprint or draw a simple floor plan. On this map, mark the exact location for:
- Every Ethernet Jack: Label them by number.
- Wireless Access Points: Ideally placed in central, open areas.
- Security Cameras: Covering all entrances, exits, and high-value areas.
- Server Room/Closet: A central, cool, and secure location where all cables will terminate.
This map is your master plan and will be indispensable for the installers.
Step 3: Choose the Right Cable Types
Not all cables are created equal. Choosing the right one future-proofs your investment.
- Ethernet (Copper): Category 6 (Cat6) or Cat6a is the current standard for most devices. It supports high-speed data and Power over Ethernet (PoE), which can power devices like phones and cameras.
- Fiber Optic: Consider running a fiber backbone between floors or to key areas for immense bandwidth. Essential for connecting your main server room.
- Audio/Video: Plan for specific coaxial or speaker wire if needed for media systems.
Pro Tip: Don’t install anything less than Cat6. The minor cost increase over Cat5e is worth it for the long-term performance.
Step 4: Plan for Conduit and Pathways
While cables can be run through ceilings and walls, the most future-proof solution is to install conduit (electrical pipe). Conduit allows you to easily pull new cables in the future as technology changes without having to tear down walls.
- Identify pathways from the server room to different zones of the office.
- Ensure there is a clear, accessible path for cables to be run.
Step 5: Implement a Robust Labeling Scheme
This is the most overlooked but critical step. Every single cable, at both ends, must be clearly labeled. Use a consistent system (e.g., “JACK-01,” “AP-02-FLOOR,” “CAM-ENTRANCE”).
- Why it matters: When a port stops working, your IT team or a technician can instantly identify the corresponding cable in the server closet, turning a hours-long troubleshooting session into a two-minute fix.
Final Thoughts: The Value of a Professional Handoff
While a keen DIYer can handle this plan, the installation itself requires precision, specific tools, and knowledge of standards. A professional installer ensures cables are terminated correctly, tested for performance, and installed neatly within building codes. They turn your excellent plan into a flawless reality.


